
Hair
How to Survive Your First At-Home Wax
All your burning questions, answered.

Getty
Now that we’re over two months into quarantine, it’s safe to say many of us underestimated the length of time we would be without beauty services. If you are accustomed to the luxury of a regular salon wax, your body hair might be creeping into cannot-be-tamed territory. You may want to take matters into your own hands (or not – let it grow!). With the risk of bruising, burning and lifting off your skin, at-home waxing can be seriously intimidating. But there are ways to do it safely and comfortably. We spoke with three wax experts to learn how to successfully wax body hair at home. Here’s what they had to say.
1. PREP SKIN FOR SUCCESS
Start prepping your skin a few days prior to waxing, just as you would before a salon appointment. Sina Zere, founder of Buff Wax Spot, recommends halting usage of products containing retinol or alpha hydroxy acids (glycolic and lactic acid fall into this category), which can sensitize the skin and increase chances of irritation. Exfoliate with a mild scrub to gently slough off dead skin cells and follow with a fragrance-free lotion. “The difference between waxing dehydrated skin [versus] hydrated skin is huge,” says Amy Finnegan Burns, VP of Operations and Training at Waxon Wax Bar. For best results, hair should be about a quarter of an inch long (about the size of a grain of rice), says Jessie Frampton, founder of Fuzz Wax Bar. Anything shorter and hair won’t adhere to the wax. The bottom line: prepped skin = smooth sailing (and reduced chance of ingrowns).
2. DO A TEMPERATURE CHECK
Get your wax at the correct consistency and temperature to avoid painful burns. “Always do a patch test, I can’t say that enough,” says Frampton. “When you’re waxing, you want a honey-like texture – you don’t want it to be too runny.” Patience is key. Avoid the temptation of nuking your wax on high, which can lead to hot pockets rather than uniformly heating the wax. Instead, consider warming the wax in a heated bath (also called a bain marie), which is similar to what you would see in a salon. “Low and slow is what you’re aiming for,” says Zere.
3. WAX “EASIER” AREAS FIRST
If you’re a DIY waxing virgin, start off with easy-to-reach areas. Upper lip, chin and in between your brows are all great places to get started. Caution: if you’re particularly sensitive to pain, consider starting with your underarms to build up your courage. It’s slightly harder to maneuver, but there are way less pain receptors in your pits than on your face.
4. WAX SMALL PATCHES OF HAIR
“Waxing unfortunately has had a bad rap in the sense that it’s associated with pain,” says Frampton. “But if it’s done properly, waxing doesn’t have to be that bad.” Frampton recommends working with small patches of hair at a time, paying close attention to the direction of the hair. “For example, underarm hair (can grow) in so many different directions. If I tried to plaster wax on it and rip, it wouldn’t work, even if my application was perfect,” she says. “Apply the wax in the way of the hair growth and rip it in the opposite direction. If you do it in small patches, take your time and breathe, it shouldn’t be that painful.”
The number one rule for a pain-free wax? Hold the skin taut from where you’re pulling the wax off. “If you don’t, [you’ll] physically tugs the skin upward, and that’s where you get the bruising and the lifting,” says Zere. “Anchor the skin super tight so that it doesn’t move. Peel off the wax almost parallel to the skin. That is what makes it relatively painless.”
5. LET UNWANTED WAX DRY BEFORE REMOVING
Wondering how to get leftover wax off your skin, clothes, bathroom sink, etc? Let any excess bits of wax on your skin dry completely before picking it off. This technique also works well on bathroom tiles. If all else fails, try gently scraping off wax with a little bit of olive oil (or any plain oil you can find in your cupboard). As for clothes? “It’s a bit of a bit of a hard loss there,” says Frampton. “So tie your hair up, get naked and prepare.”
6. WAIT 48 HOURS BEFORE REINTRODUCING ACTIVE INGREDIENTS IN SKINCARE
Wait until the redness in your face is completely gone before reintroducing active ingredients into your routine. Typically, it takes about 48 hours to three days post-wax for your skin to bounce back. “I would probably even skip it for the week if you can, your skin is very vulnerable [after waxing], says Frampton. “It’s a pretty aggressive form of exfoliation for your face.” To avoid irritation directly after waxing, opt for aloe vera gel, or a very light moisturizer.
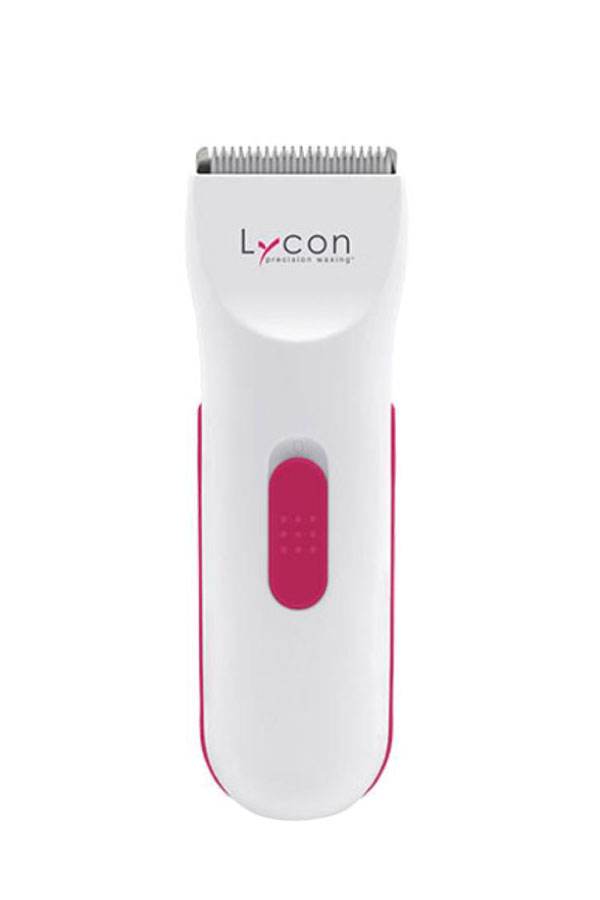
7. CONSIDER USING A TRIMMER
If you’ve turned to the razor once or twice during quarantine, it’s not going to majorly disrupt the growth cycle you’ve developed from regular waxing. However, if you’ve been shaving consistently for the past nine weeks and are used to waxing, hair growth may be stimulated and appear coarse. “But it’s not something waxing can’t correct,” says Burns. “Your hair is very adaptable. It’ll become used to the waxing again and then eventually start to grow back more sparse and less frequently.”
If DIY waxing isn’t for you and shaving isn’t an option, consider investing in a trimmer. Razors glide directly against the skin, while a trimmer cuts hair super short (almost to the length you’d expect a week post-wax) without making contact with the epidermis. This is great for ultra sensitive types, as there is less chance of bacteria entering the skin (a razor sitting in a damp shower for weeks on end won’t do you any favours). “With a trimmer, you’re cutting the hair to a much shorter level and there’s less chance of ingrown hair, irritation and bacteria being crossed over.” Ideal for keeping growth at bay while you patiently wait for salons to reopen.
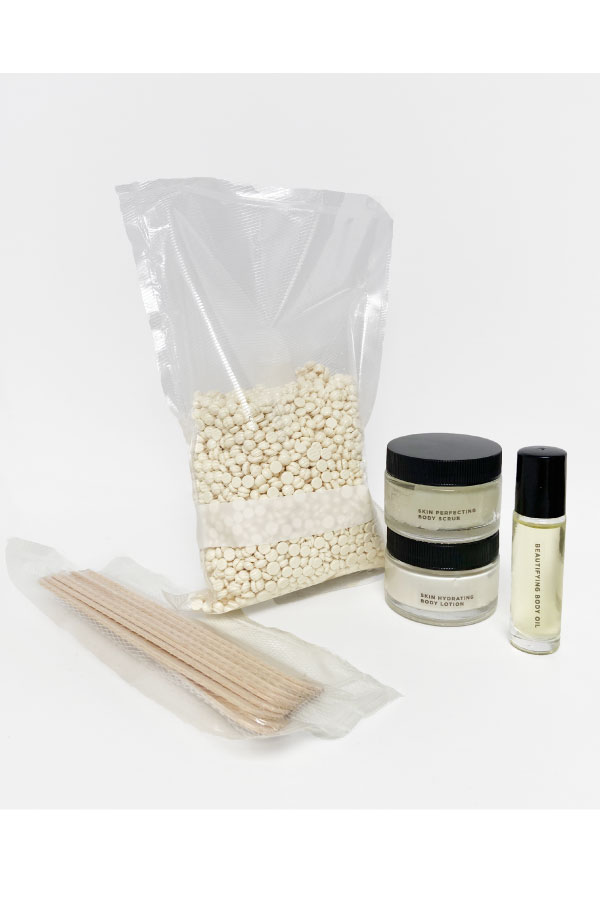
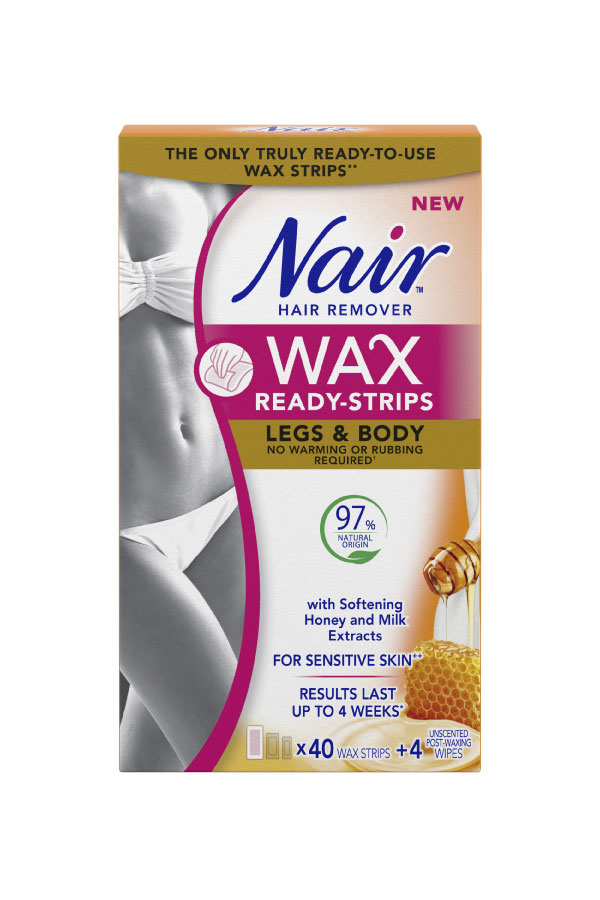
SHOP AT-HOME WAXING ESSENTIALS:

Newsletter
Join our mailing list for the latest and biggest in fashion trends, beauty, culture and celebrity.


Read Next

Fashion
Tap Into the Tenniscore Aesthetic With These Stylish Pieces
Game, set, match!

Fashion
Reitmans and The Birds Papaya Just Dropped The Dreamiest Spring Collection
Welcome to Sarah's Playhouse.

Beauty
Tested and Approved: A Skin Saviour That Works While You Sleep
Wake up with your glowiest skin yet—even if you didn’t clock eight hours.